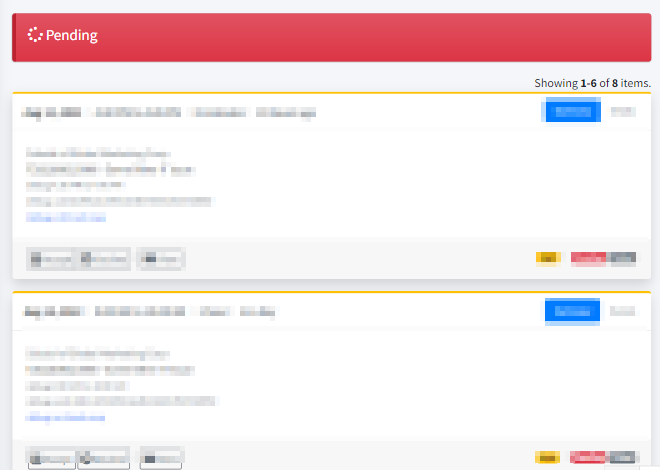
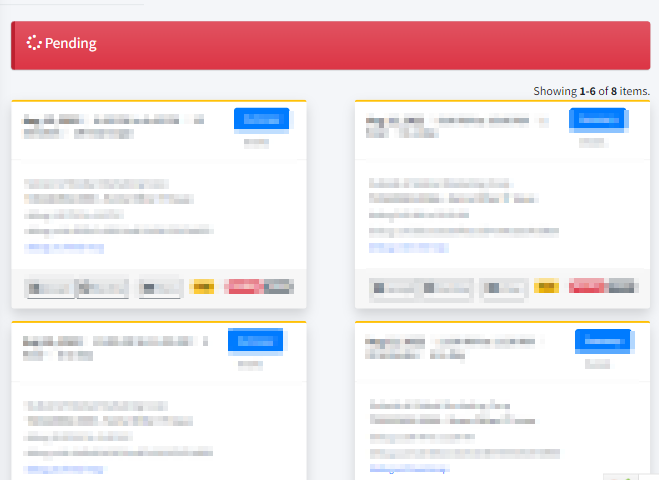
I needed to get this working and I thought I’d share. It’s actually very easy to use yii\widgets\ListView in a way that shows multiple columns, e.g., if you have a list of 5 items, you could do a 2-column list so that your output is:
a b
c d
e
There are no real changes to ListView of course. You just do this via CSS and then tell ListView which classes to use.
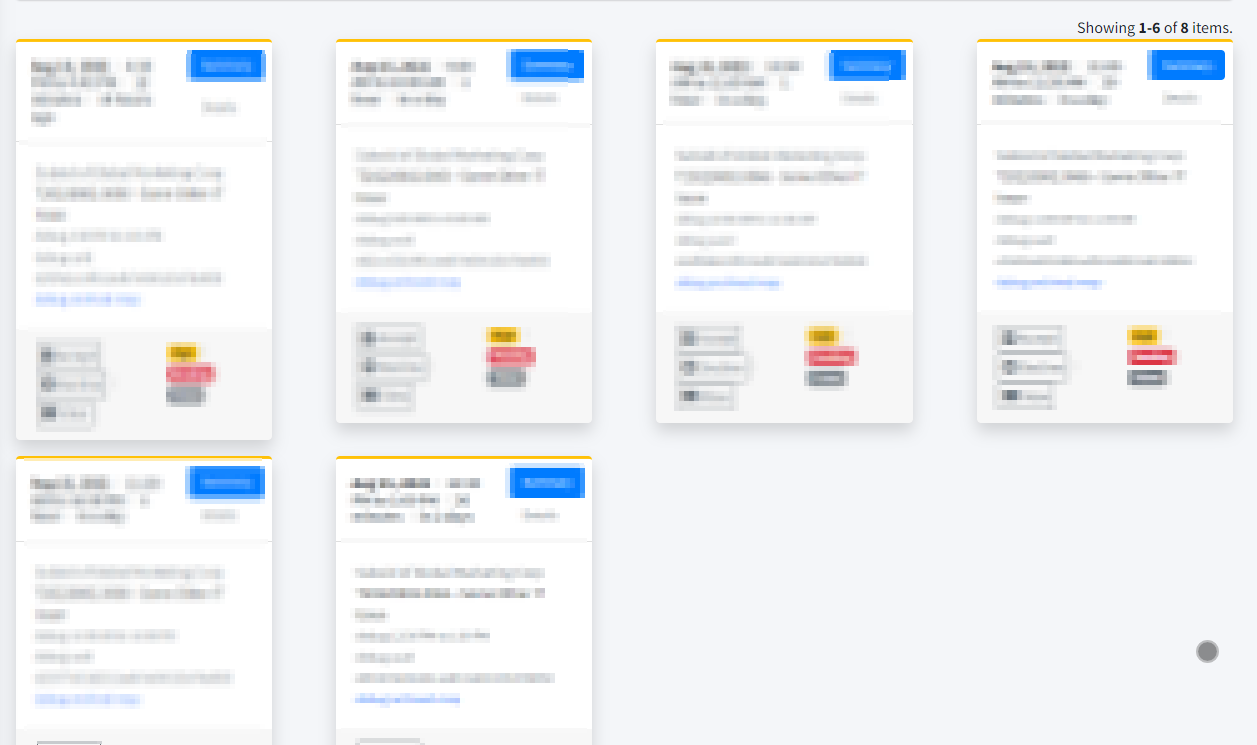
First, in your site.css, create your grid and ListItem config. (Replace the “2” in .masonary-grid with the # of columns you want.)
.masonary-grid {
    display: grid;
    grid-template-columns: repeat(2, 1fr);
    column-gap: 4rem;
}

.masonary-grid > .masonary-grid-listview-summary {
    grid-column: 1 / -1;
}

.masonary-grid > .masonary-grid-listview-pager {
    grid-column: 1 / -1;
}

.masonary-grid > .masonary-grid-item {
}
That’s 99.9% of the work right there.
Next, in your yii\widgets\ListView, you need to set:
$listOptions=['class' => 'masonary-grid'];
$itemOptions=['class' => 'masonary-grid-item'];
$summaryOptions=['class' => 'masonary-grid-listview-summary text-right'];
$pagerOptions= ['class' => 'masonary-grid-listview-pager'];
$layout = sprintf('%s{items}%s', $summaryEnable ? '{summary}' : '', $pagerEnable ? '{pager}' : '');

echo \yii\widgets\ListView::widget([
    'dataProvider' => $dataProvider,
    'itemView' => ......,
    'layout' => $layout,
    'options' => $listOptions,
    'itemOptions' => $itemOptions,
    'summaryOptions' => $summaryOptions,
    'pager' => [
        'firstPageLabel' => 'first',
        'lastPageLabel' => 'last',
        'prevPageLabel' => '<span class="fa fa-arrow-left"></span>',
        'nextPageLabel' => '<span class="fa fa-arrow-right"></span>',
        'maxButtonCount' => 8,
        'options' => $pagerOptions,
    ],
]);
Try it out!